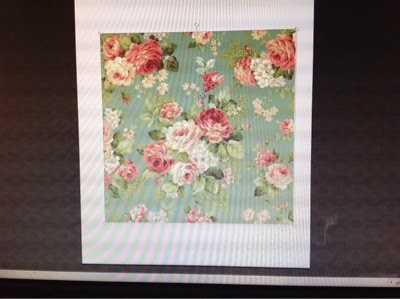
It occured to me you might want to use this paper
CLICK the paper to get it
In this tutorial I will step by step tell you how to make
big beautiful letters for parties, scrapbooking, card making
or crafting........
The fist thing you need to do is choose the paper pattern for your letters. Have it in a file easy to find.
Open Picmonkey ( free online editing program) http://www.picmonkey.com/
4) Look through all the text and choose the text style you want to use
I'm choosing PoetsenOne

1) At the top choose Design
2) Choose 5x7 or 8x10
I'm doing 8x10 so you can see it better
3) Leave the canvas color white and on the Menue bar choose the Text icon
4) Look through all the text and choose the text style you want to use
I'm choosing PoetsenOne
5) Click your choosen text then add text.
( Chose a large chunky text
6) Make one big letter and get it as large as you can by clicking outside the
text frame and dragging the top or the bottom of the frame. If your wanting to make smaller letters, add as many as you like. We used the 8x10 template because this will show you how large your letter is on a sheet 8 1/2 X 11" paper
7) Click on the little Overlays ( butterfly) icon. We're going to get our paper.
8) Choose Your Own . This will take you to your files
9) Find your paper in the file & click on it.
10) Now drag the corner of the paper until it is large enough to cover your
black letter. I chose this paper, right now I'm infatuated with it.
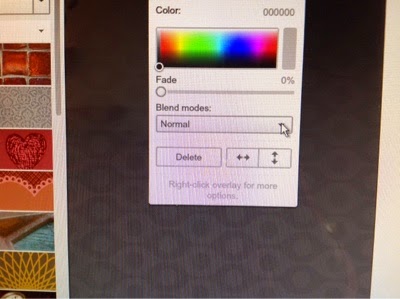
11) Go back to the Overlay box, it will be somewhere in the dark grey work
area. Click on the down arrow beside Normal
12) When the dropdown list opens, scroll down and choose Lighten
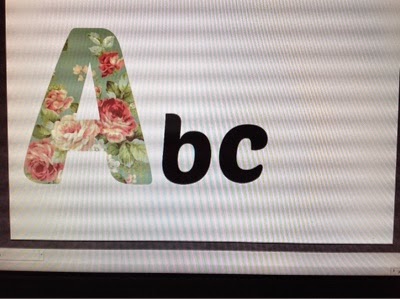
13) Whoa......magic just happened. Your letter is now the paper you chose.
Isn't that impressive ?
13) Time to save your letter or letters . When I'm doing a project I make a file
just for that project and name it something easy for me to find.
*** A couple of tips;
If you're wanting to make really big letters, make one at a time. After you have all the letters you want. Start all over and open a new project window 8X10 and stretch each letter as big as you want.
I have a Facebook Page, please send me a message if you have any questions.
You may have to "like" my page so that your message doesn't go into my spam folder.
And.....here's how to make some solid colored letters to match your patterned ones.
Each letter is made seperately, One at a time make the letter you need

Click on the letter you want to color. I'm clicking on the b
Go to the Text box. Click on the color bar beside the color chart
until you get the dropper.
With your cursor, move over to your patterned letter.
Put the dropper on the color you want the solid letter to
be and click
Now my b matches the teal in my patterned letter
For my c I repeated the steps.
If you would like to print this tutorial, there is a little green printer at the bottom of this post. Print in your printers draft mode.


No comments :
Post a Comment