Welcome to my World

Welcome to my World
Showing posts with label Decorating For Christmas. Show all posts

Cover Your Own Candles with Snow

When I was a very small child my Mom and her three sisters would get in the kitchen at Christmas time and make all kinds of crafts  candies, waxed crepe paper roses, tons of divinity candy and snow covered candles. For several years now when this time of year rolls around, I think about those days with the warmest feeling in my heart, and would wonder how they made those candles.
I found these instructions and material list on the net tonight and gave it a try.
If any of you have another method or remember the snow cover candles, I would love to hear from you......


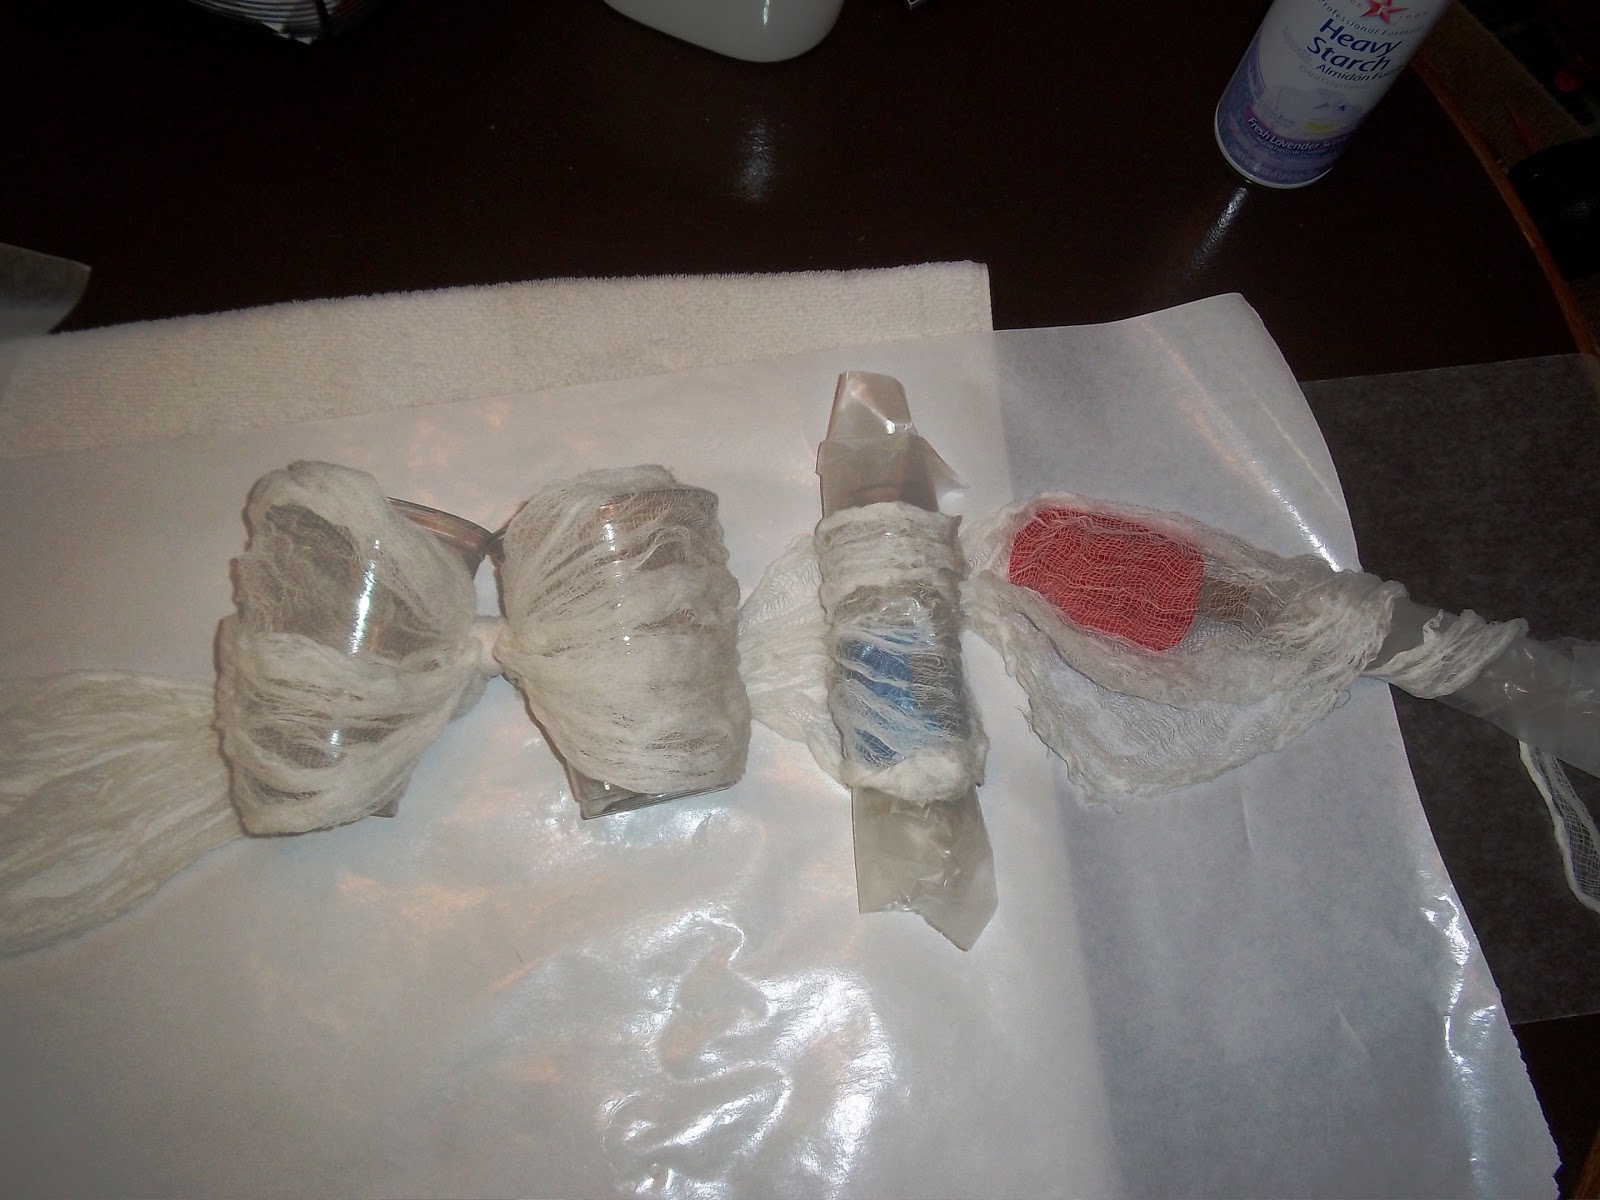
My tea-lights were old ones I keep in the garage for emergencies. This summer my Husband and Grandson built a cedar canoe, they were dusty and smelled like cedar when I melted them....yuck...I hate the smell of cedar......I know........I'm probably the only one in the world. I only melted about 10. 


To speed the solidification, I set mine off the stove into an ice bath. If you do this, you do have to scrape down the sides.


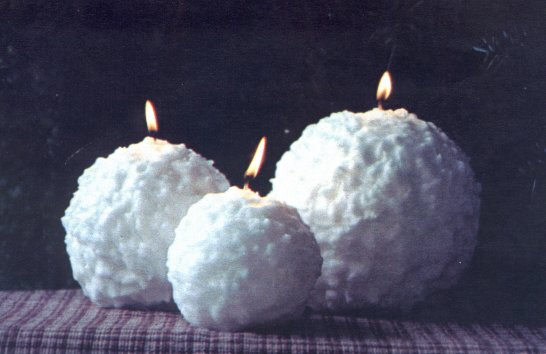
I added the snow to a flame-less candle. I may have made mine a little rough and I didn't have glitter. I'm not really a glitter kind of girl, but next time out, I will pick up some. When I get the Christmas stuff out, I have some old red candles I want to do this too..........and I'm buying paraffin......the tea lights are too much trouble.


Here are more images of candles made with this technique 


Fill a Pretty Bowl with Lights, Ornaments N Flowers

This is so easy and is so pretty. The bowl can decorate the serving table, a small table in an out-of-the-way corner or the cabinet where all the stirin-n-bakin is going on.
You do want to use the LED lights that don't get too hot. A pretty bowl, could be plastic, ornaments, bows and floral pieces that match your theme. 
We all have an extra string if lights. I've used red lights with silver ornaments, it was beautiful. In this one I used glittered ornaments.What's so easy about making this you can add anything to the bowl. Tinsel wrapped with your lights then placed the ornaments on the outside where they will show. As you place the tinsel in the bowl add the lights. When the lights and ornaments are in cover the top, leaving a few lights exposed add your pretty flowers, berries, ribbon bows,little Christmas characters, anything that goes with your theme. 


I would love to see your creations and add pictures and instructions as to how you did and what you added to your lighted bowl.....with your permission I would love to feature them here on this post and on my Facebook page.
Just email them to me at


Gauze Bow

Let's  make a Gauze Bow !


 I love gauze and I had this piece left over from Halloween.
When it came time to put the decorations away, I just couldn't put the gauze in the tub.
I left it lying on my dinning table thinking, there must be something I can use this for.
When getting out the little white Christmas tree I thought about the gauze & how lovely a big bow made out of the gauze would be ....


To make the bow you will need
Gauze ( mine was prepackaged from the craft dept. at Walmart)  3 yds.

Spray Starch

2 cylinder shaped objects. Your going to be using these as molds for your bow.( I used plastic solo cups)

Butcher's paper

Decoupage medium


First, take your gauze and make the bow, the size you want it to be.


I chose these clear solo cups.You'll want to choose , cans, glasses or whatever fits the size you want your bow to be. At this point, I tugged on the tails to get the Bow tight around the cup.
Fiddle w/ it, slide the gauze around to make it look like a bow.

he bow to fit tightly on the cupshe bow to fit tightly on the cups 
Spray the bow, both sides, with starch. Don't skimp, soak it.
Let it completely dry and repeat the process, SEVERAL TIMES. I did use a hair dryer to speed the drying.
After  repeating the spraying and drying about six times, I decided I would dip the ties in  Decoupage medium


I mixed 2 parts  Decoupage medium o 1-part WATER. Dipped both the ties into the mixture I had put Decoupage medium  into a bowl. Squeezed all the excess mixture out.
To add dimension to my ties I covered toilet paper rolls, wrapped in wax paper, and the handle of my spatula (round) covered w / wax paper.
Now while your doing this step, work with the soaked gauze and make it look like a ribbon. I used the hair dryer on this step too, but the next one I make I'll leave overnight to dry. I was a little anxious to see the finished project :) 


I  love it !! 
It was just what I needed or wanted to add to the greenery I put around the base of this little tree.


Merry Christmas.........