

The first time I purchased and downloaded photo masks, I thought I had been cheated........so in this simple tutorial I'll show you how to print photo masks on your own 8" by 11" paper....
 Open picmonkey


Here's the link to picmonkey.com
Open picmonkey
Choose Design
drag your mouse over the 8X10
You want your background transparent
On the left of the screen go to the commands
Click the little SQUARE TOOL
CANVAS COLOR
Click transparent
Your screen should look like this
Now we're going to get the mask
Click on the little butterfly (OVERLAYS)
Click on YOUR OWN
Open the file where you have downloaded and saved the overlay
Click on the overlay you want to use
Click on the corner commands
Drag the corners to make the mask the size you want it to be.
Now we're going to color the mask to match your paper
Click on the mask
The OVERLAY WINDOW will open
Run your mouse over the COLOR BAR until you find the
color you are happy with.
Here I've choose green
Here I've chose purple.......see how easy that is.
A tip I use here...I download a small sample of my paper and add it to the screen for the match I want.
I chose brown....
You can add your pictures and other elements now or print the mask alone on your paper, then add your photos and elements...
My finished page
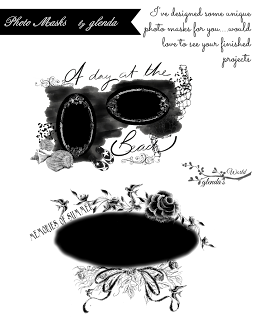
Here are two masks I posted today
CLICK to save-as use
Enjoy..........if you have any questions email me at
2 comments :
Thank you for this tut. It is so easily explained.
I know that I will enjoy trying this out.
Elaine,
You are very welcome.
Let me know if you have any questions
Glenda,
.
Glendaj.s.world@gmail.com
Post a Comment