

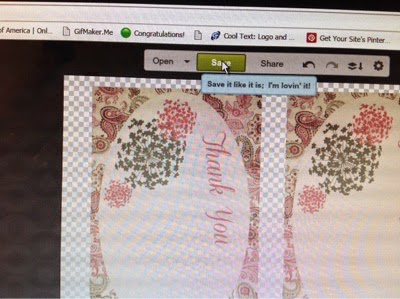
Here's what our finished card will look like,
but along the way you can make your own changes and add
your own imagination....

First, CLICK to enlarge this frame and save it.

Open Picmonkey ( a free online editing program) CLICK HERE
After you have opened the program
CLICK Design
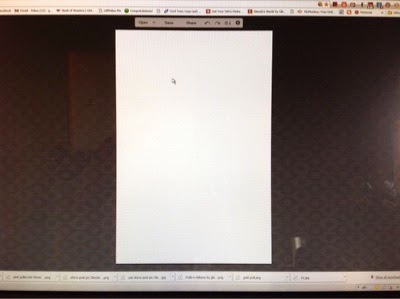
Choose 4 X 6

Your screen will look like this
Now, over to the left CLICK Rotate then Apply

Back to the menue bar cCLICK on the little butterfly Overlays
Now, to the top and hit Your Own
this takes you to your files

Go to the file where you saved the pink paisley frame I gave you and
CLICK on it

Now you should see it in the middle of your screen.

With the mouse stretch the corners of the frame until it
fills the whole 4X6 white space. Be sure you go all the
way to the edges

Back to the menue bar, click the butterfly (Overlays)

A whole list of options is open, scroll down to
Bursting Blossoms

I chose the one on the bottm second from the right, but
you can choose any of the blossoms you like.

While the blossom has a frame around it go to the Overlay
menue, click on the grey bar, beside the color bar, and the little
color dropper should appear.

Move the little dropper on any color you choose to make your
blossom. I've put my dropper in the grey.

After your blossom is grey, RIGHT CLICK and a menue
will open. Near the bottom you will see Duplicate Overlay.
CLICK on Duplicate.

Now you have two blossoms. CLICK on the one you want larger
or leave it the size you want. CLICK on the second blossom
and move it where you want it and make it the size you want.
Remember CLICKING on the blossom lets you resize, change the color or move.

On my second blossom, to the Overlay box, click the
color bar & get the eyedropper

Move the eyedropoper to the frame and choose the color you want
your second blossom to be. I've choosen pink

Right CLCIK the second blossom , duplicate overlay.

Now you have a third blossom.
Make it any size or shape you like by going back to the
Overlay menue bo

I made mine a little lighter pink

Now we're going to add Thank You.
Over to the left, the menue bar,
CLICK the Text symbol.

Choose your text, at the top, CLICK add text.
***Note***
You have two options for text. Ours & Yours
If you have downloaded and installed any text, it will be in Yours.
At the bottom of this post I will put the link to a tutorial I
did on installing fonts

Write Thank You OR whatever you want your card to say.
To color the text highlight it.

In the Text menue box, click the color bar, just as you did
for the blossoms, get the eyedropper and make the text the color
you want. ( Use the colors of the frame or a color from the color chart
by placing the eyedropper on a color and left clicking.

I'm putting the eyedropper on one of my pink blooms
and choosing that color of pink.

Now your text is colored, click outside the text box and make it larger
and move it where you want it.

The little rotate icon will be in the middle top of the text box.
Click on it to rotate the text.

When you have the text where you want it and the color you want,
At the top of the window box click the stacks of paper icon and
combine your work.

Over to the main menue bar agan,
CLICK the Magic Wand icon (Effects)

The Effects are now open,
CLICK on Dusk

You notice now your card has an aged look.
With Dusk still open, CLICK on the Fade button. move it right
or left, watching your card, choose how dark or light you want the
aged Effect.....CLICK Apply

Now at the top, SAVE your card
(Put it where you can easily find it)

Now that you've saved the card, in the top right corner of your screen
is a little grey X. CLICK the X. A new screen opens. CLICK on Design,
drag the mouse to the 8 X 10

On the menue bar, under Canvas Color, CHECK the Transparent canvas box.

Now your 8 X 10 canvas is transparent.
On the menue bar CLICK the butterfly (Overlays), at the top,

CLICK Your Own

Your files open, CLICK your finished card (you saved)

CLICK a corner, make your card bigger and rotate it

Now, this is a fiddle. You're going to be adding 4 of the cards to the
canvas, so you may have to play with the size.

After you've placed the card in the top left of the canvas, right CLICK,
Duplicate overlay. Now there are two.

Repeat the last step 3 times till you have 4 cards, all the same size
on the canvas.
*** NOTE***
I usually to the top left and bottom left cards first. If I cant get
2 cards to fit on my canvas, I delete the second and resize the first one
until 2 fit, then duplicate the other 2.

Now save your cards !
ALL DONE !
You now have 4 lovely cards you can print on card stock.
( to print this tutorial, there is a little green printer icon at the bottom of this post for your convenience)


No comments :
Post a Comment